Welcome to the Polar Lights Refit Enterprise Re-deco Log Part 3!
Click here for Part 1 | Part 2
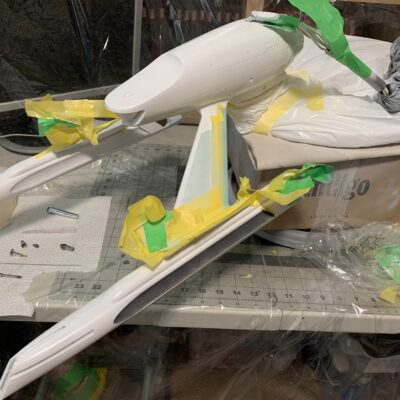
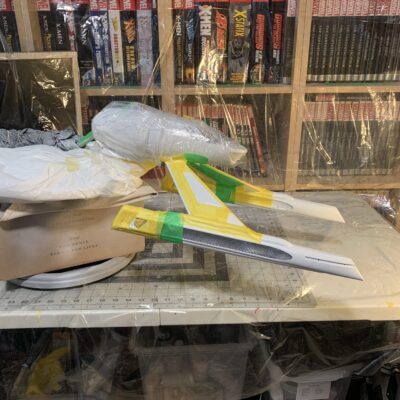
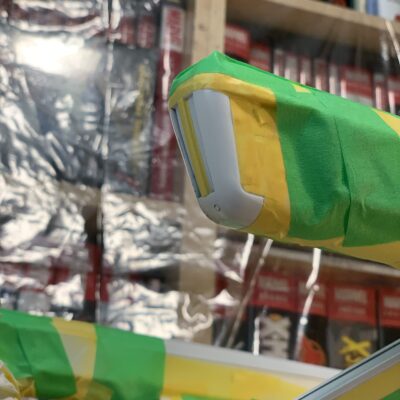
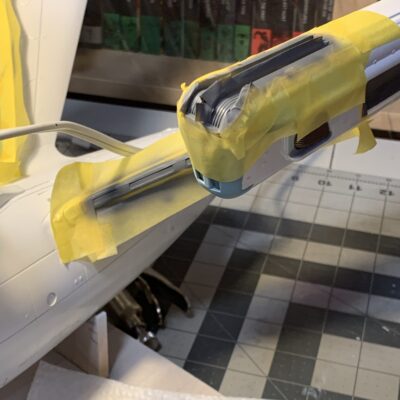
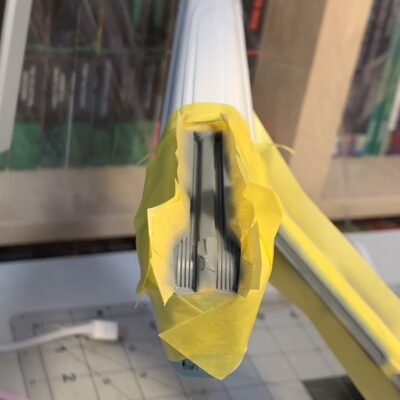
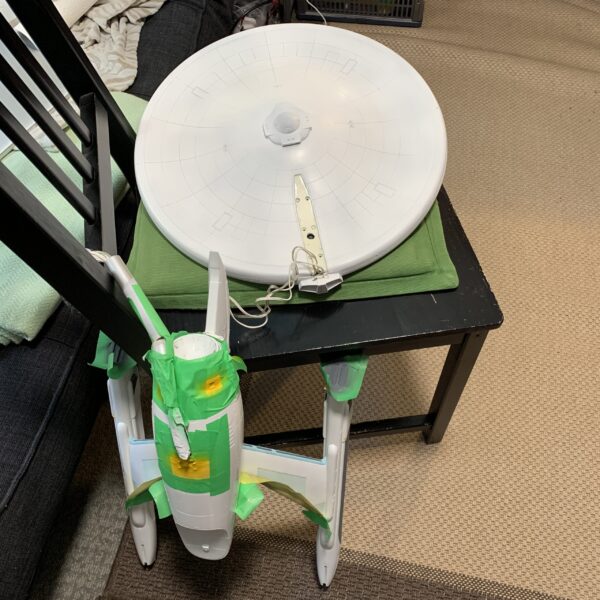
Continuing my work re-painting the Enterprise, it was time to do some detail painting on the warp nacelles and their pylons.
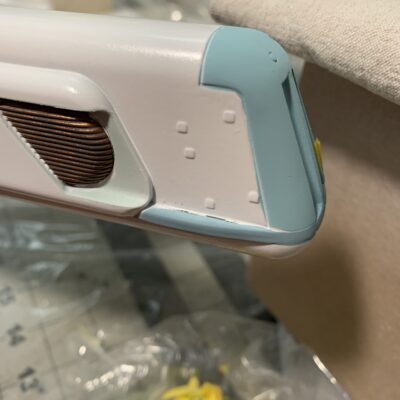
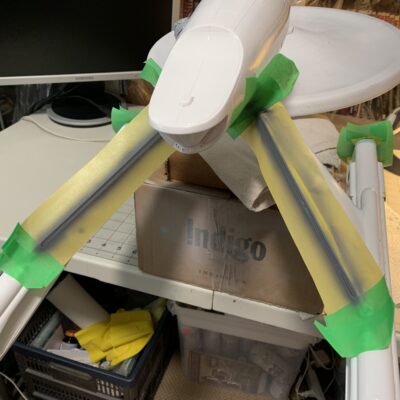
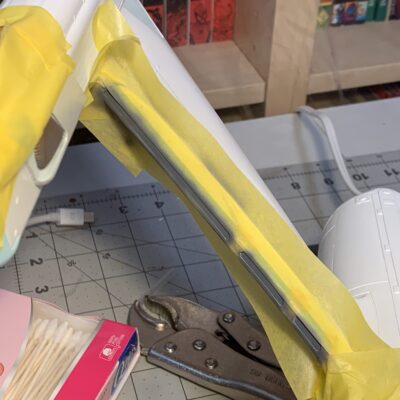
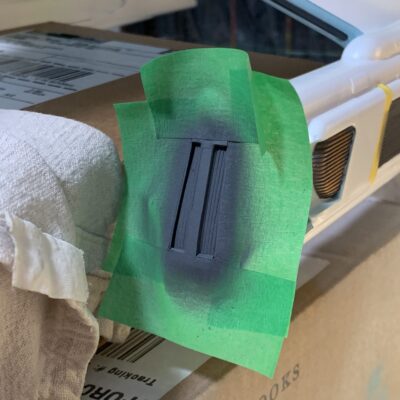
Nothing too fancy here, just a lot of masking, spraying, removing the tape, and touching up. I did try to mix slightly more subtle colors/shades of blue and gray than the instructions suggest; I found on my previous attempt, and even on some of the expertly finished models I’ve seen online, the contrast is really high on some of the recommended colors.
I also, unfortunately, mixed Testers Model Master paints and Tamiya Acrylic paints, to… poor results. Even extremely thinned, they tended to clump up and clog the airbrush, and, once dry, started to crack a little. So, you know. Don’t do that.
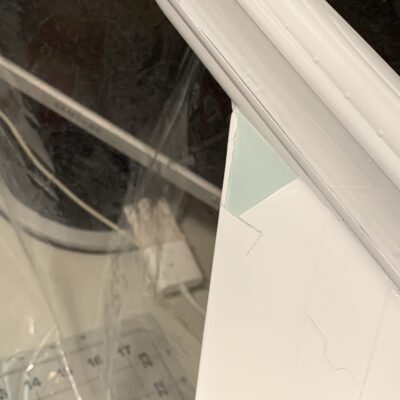
I also could not stop the pylons from cracking open along the seams, no matter how much glue I used.
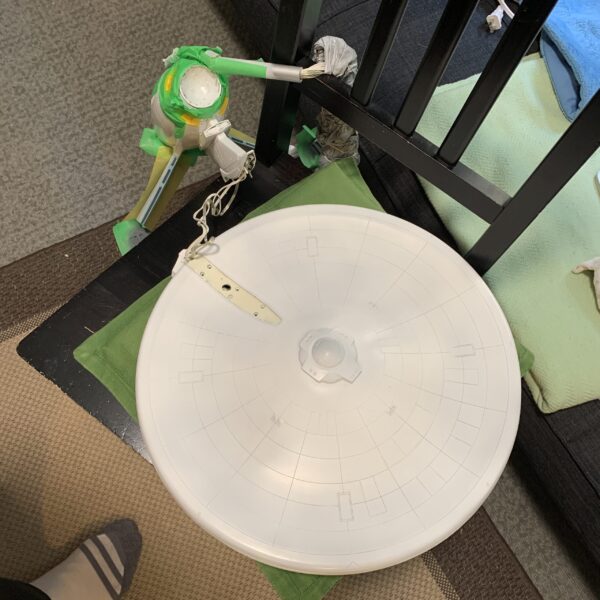
Speaking of cracking: The primary hull popped off!
This was not entirely unexpected; after all, I was moving this thing around a lot, flipping it upside down, etc. — it was bearing more weight in more ways than it’s designed for. But, it shouldn’t be too big of a deal (I hope! to re-attach. And it’s made it way easier to maneuver and paint this way.
I also mixed up the gray with gun metal, as mentioned last time out. I probably could have used a touch more gun metal, to give it a little more shine, but, didn’t want to push it. Happy with how it turned out.
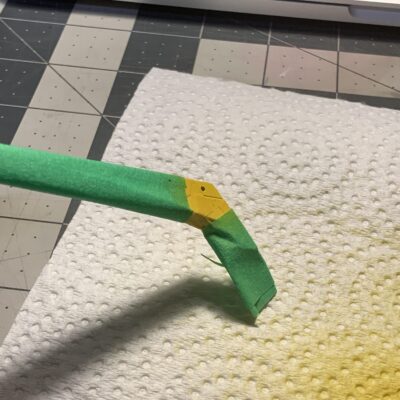
I also mixed up the mustard yellow for the thrusters and phaser banks. This one turned out perfectly! I’m always pleased as punch when a color turns out right.
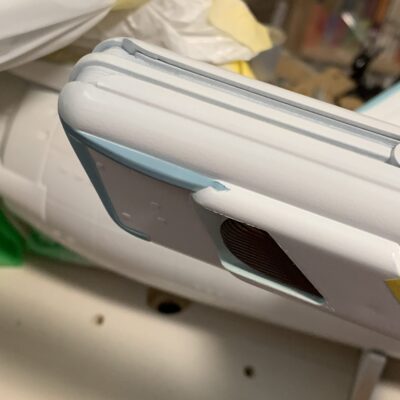
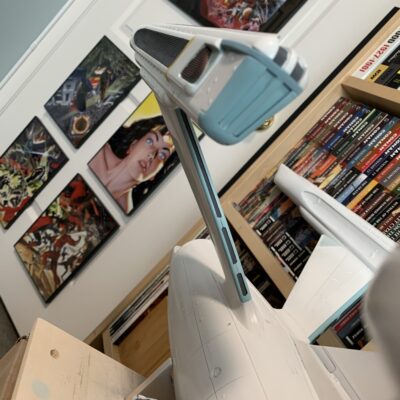
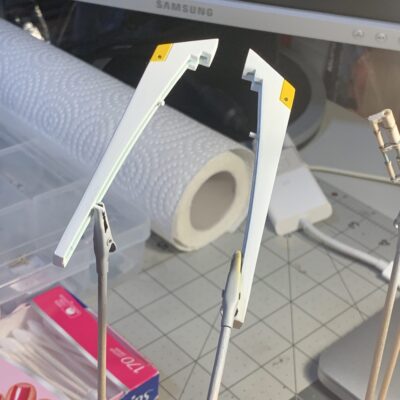
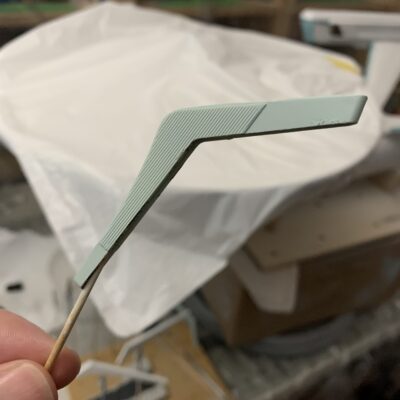
With that in hand, I finished up the fins for the rear of the pylons — the underside fins were painted the light blue-gray, with side ones in white, and the thrusters done up in the yellow mix.
More to come.
